# How to deploy a private AnythingLLM instance on AWS With an AWS account you can easily deploy a private AnythingLLM instance on AWS. This will create a url that you can access from any browser over HTTP (HTTPS not supported). This single instance will run on your own keys and they will not be exposed - however if you want your instance to be protected it is highly recommend that you set the `AUTH_TOKEN` and `JWT_SECRET` variables in the `docker/` ENV. **Quick Launch (EASY)** 2. Log in to your AWS account 3. Open [CloudFormation](https://us-west-1.console.aws.amazon.com/cloudformation/home) 4. Ensure you are deploying in a geographic zone that is nearest to your physical location to reduce latency. 5. Click `Create Stack` 6. Use the file `create_anythinng_llm_instance.json` as your JSON template. 7. Launch. On first boot fill out your ENV keys and you are fully live. Time to boot is approximately 60 seconds. Done. **Custom Launch and Build From Source** [Refer to .env.example](../../../docker/HOW_TO_USE_DOCKER.md) for data format. The output of this cloudformation stack will be: - 1 EC2 Instance - 1 Security Group with 0.0.0.0/0 access on Ports 22 & 3001 - 1 EC2 Instance Volume `gb2` of 10Gib minimum **Requirements** - An AWS account with billing information. - AnythingLLM (GUI + document processor) must use a t2.small minimum and 10Gib SSD hard disk volume - `.env` file that is filled out with your settings and set up in the `docker/` folder ## How to deploy on AWS 1. Generate your specific cloudformation document by running `yarn generate:cloudformation` from the project root directory. 2. Log in to your AWS account 3. Open [CloudFormation](https://us-west-1.console.aws.amazon.com/cloudformation/home) 4. Ensure you are deploying in a geographic zone that is nearest to your physical location to reduce latency. 5. Click `Create Stack` 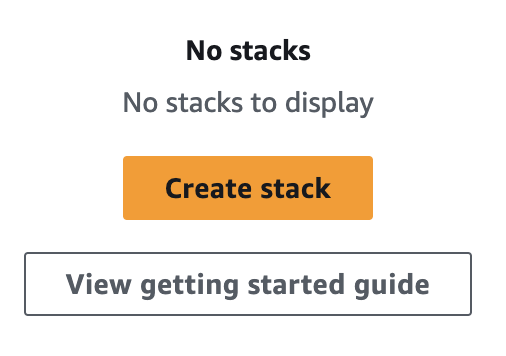 6. Upload your `aws_cf_deploy_anything_llm.json` to the stack  7. Click `Next` and give your stack a name. This is superficial. 8. No other changes are needed, just proceed though each step 9. Click `Submit` 10. Wait for stack events to finish and be marked as `Completed` 11. View `Outputs` tab. 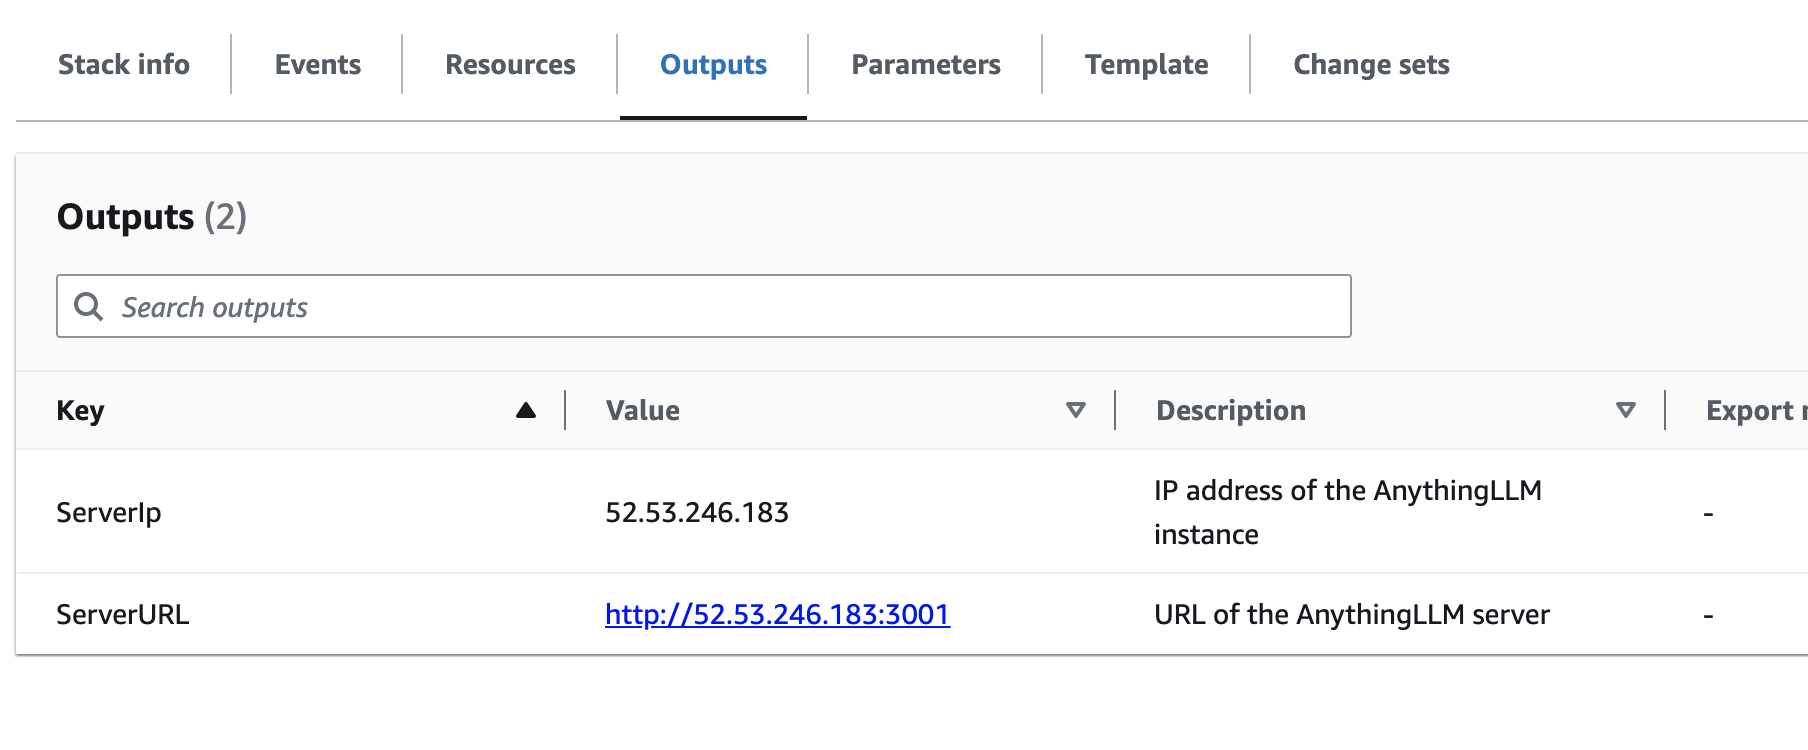 ## Please read this notice before submitting issues about your deployment **Note:** Your instance will not be available instantly. Depending on the instance size you launched with it can take anywhere from 10-20 minutes to fully boot up. If you want to check the instance's progress, navigate to [your deployed EC2 instances](https://us-west-1.console.aws.amazon.com/ec2/home) and connect to your instance via SSH in browser. Once connected run `sudo tail -f /var/log/cloud-init-output.log` and wait for the file to conclude deployment of the docker image. You should see an output like this ``` [+] Running 2/2 ⠿ Network docker_anything-llm Created ⠿ Container anything-llm Started ``` Additionally, your use of this deployment process means you are responsible for any costs of these AWS resources fully.